How to Test Your VPN and Proxy for Leaks
2025 Practical Guide
A privacy setup is only as strong as its validation routine. This guide shows how to test a VPN or proxy for common leaks, confirm that DNS follows the intended path, and detect fallback routes after restarts or adapter changes.
✓ What you will verify
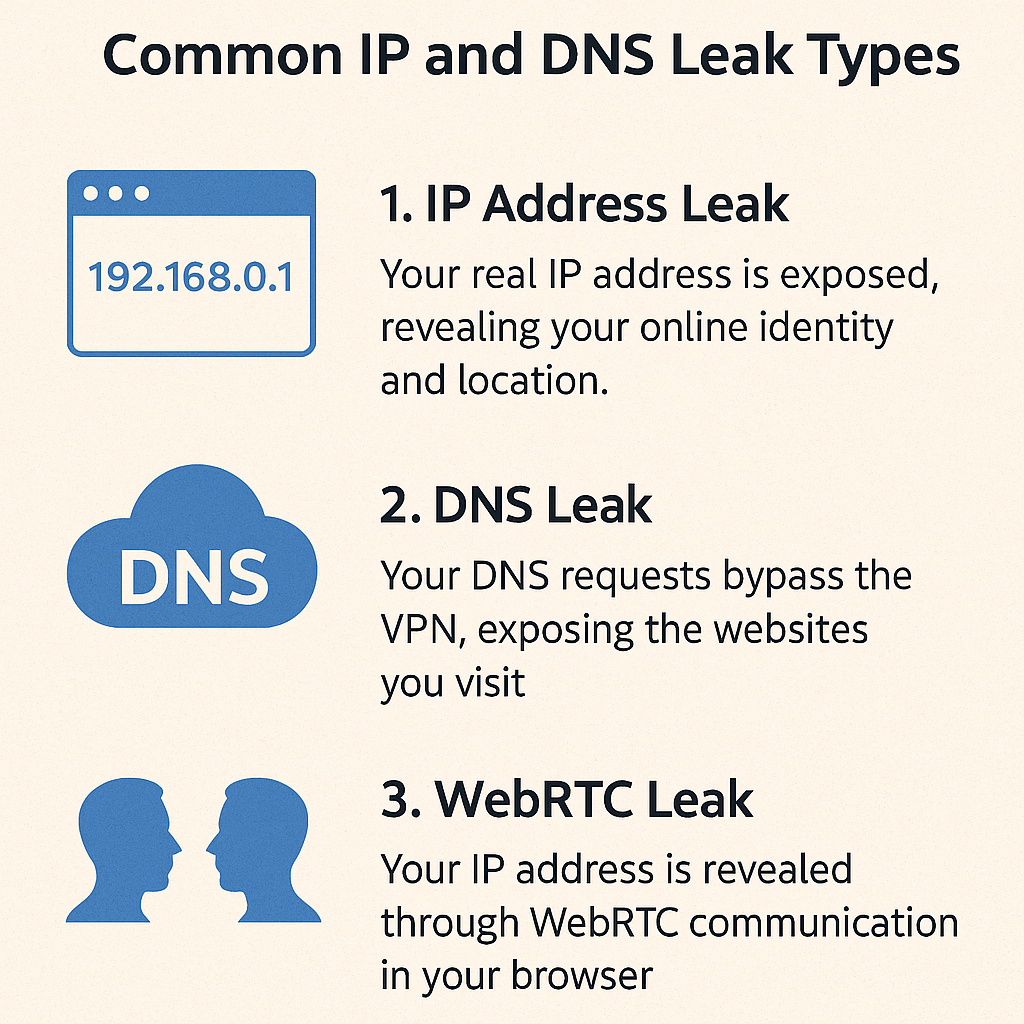
⚠ DNS leak basics
🔬 Step-by-step verification
Quick IP check
Before connecting, record your visible IP using a neutral tool like currentipaddress.com. After connecting your VPN or proxy, refresh the page — the value should change to your trusted provider's range and remain stable throughout the session.
Browser checks
Terminal checks
Resolver results should reference your trusted resolver. Route tables should prefer the VPN or proxy-facing adapter for the tested app.
IPv6 behavior
🔁 Repeatable verification routine

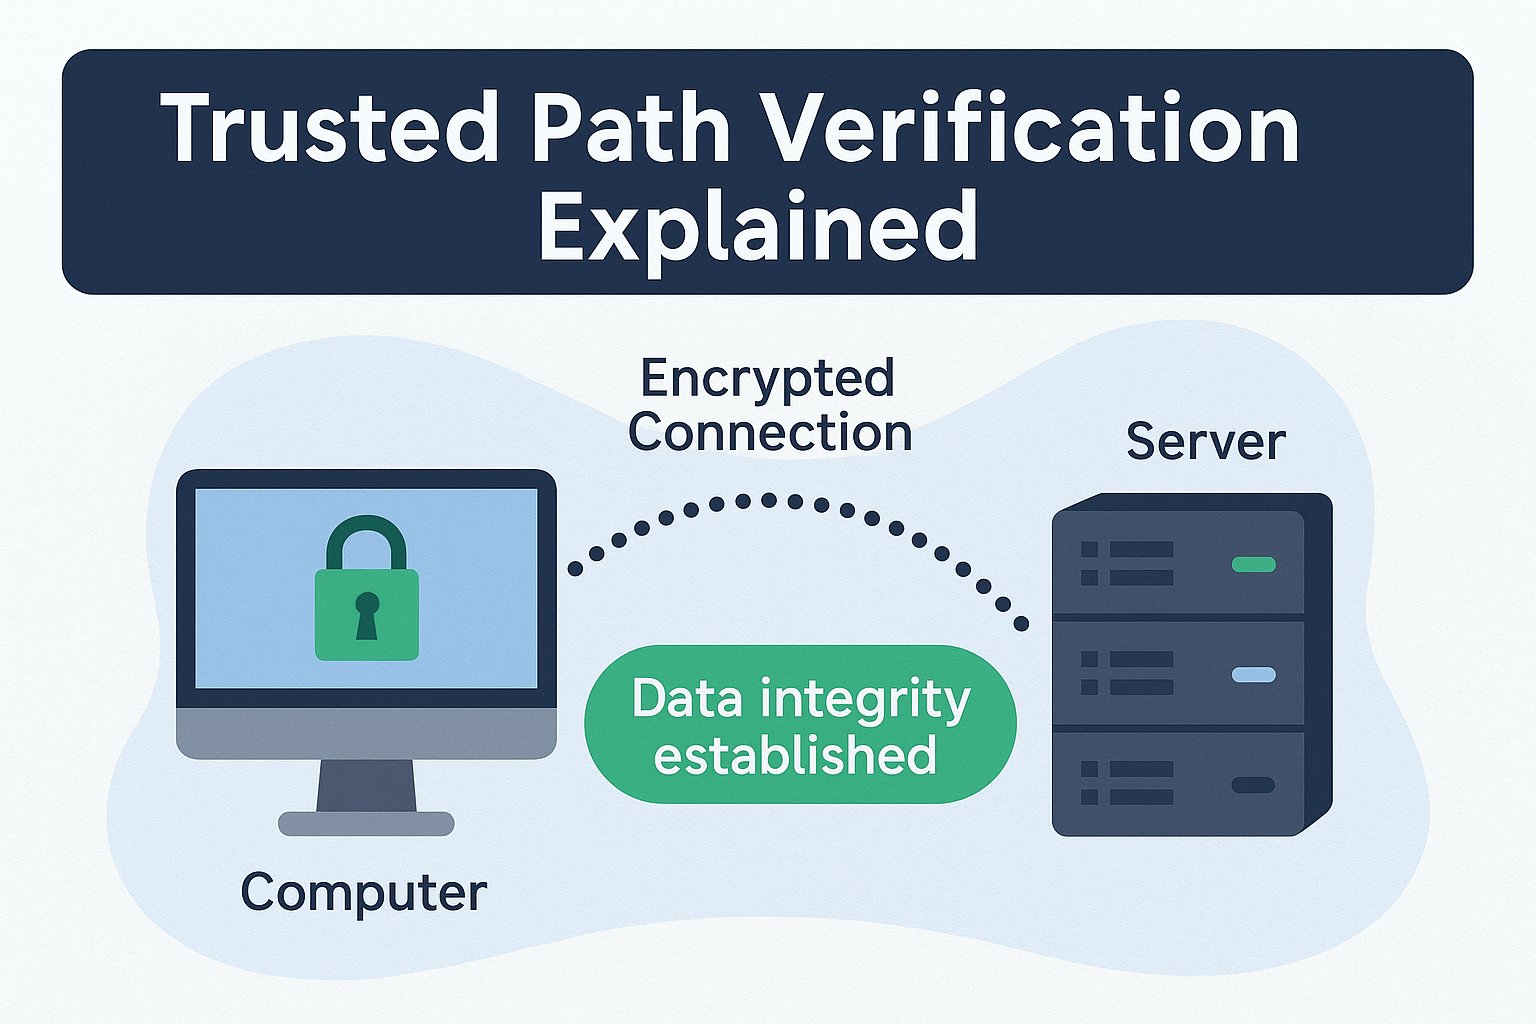
🛡 Trusted path verification
🔧 Common fixes if a test fails
IP still shows my real address after connecting
DNS leak test shows my ISP's resolver
WebRTC shows a public IP address
media.peerconnection.enabled to false in about:config.
Tests pass but leak after reboot
IPv6 leaking even with VPN connected
Free torrent leak test — no signup
Most IP checkers show your browser IP. TorSentinel shows what the swarm actually sees — which is what matters for torrent privacy.